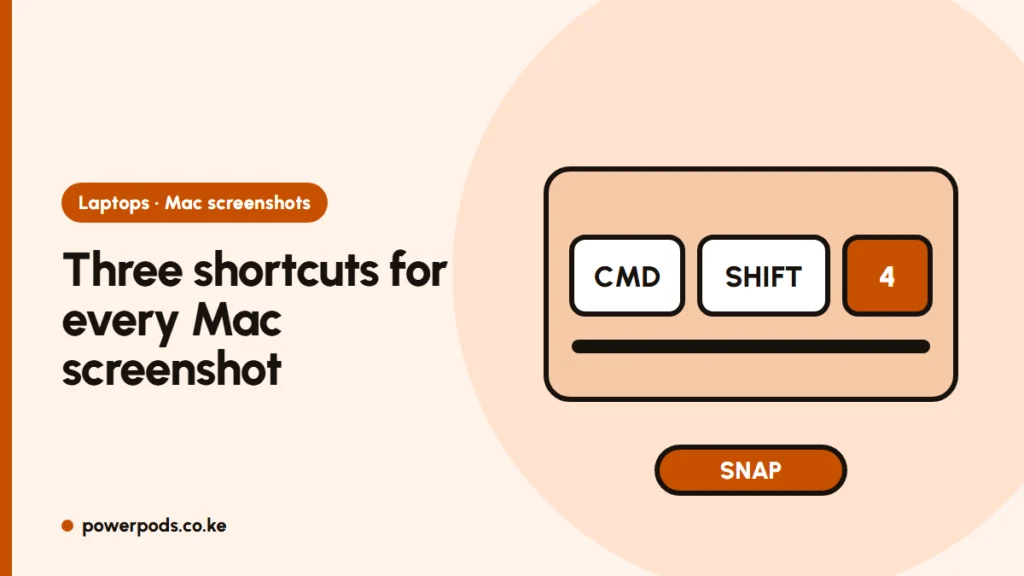
To screenshot on a Mac, press Command (⌘) + Shift + 3 for the whole screen or Command + Shift + 4 to drag over just one part. The picture lands on your desktop as a PNG file, ready to send or attach.
Whole screen: Cmd+Shift+3
Press ⌘ + Shift + 3 together. You’ll hear a camera sound and a small thumbnail slides into the bottom-right corner.
- Click the thumbnail to crop, draw on it or add text before it saves.
- Ignore it and it saves on its own after a few seconds.
- With two screens connected, you get one file per screen.
Part of the screen: Cmd+Shift+4
This is the one most people need, for example to save just the receipt part of an M-Pesa web statement or a bank confirmation page.
- Press ⌘ + Shift + 4. The pointer turns into a crosshair.
- Drag over the area you want and let go.
- Press Esc before letting go if you change your mind.
To capture a single window, press ⌘ + Shift + 4, then tap the Space bar. The pointer becomes a camera; click any window and it’s captured cleanly, with a soft shadow around it.
Screenshot toolbar: Cmd+Shift+5
⌘ + Shift + 5 opens a small toolbar at the bottom of the screen with every option in one place:
| Button | What it does |
|---|---|
| Capture entire screen | Same as ⌘ + Shift + 3 |
| Capture selected window | Click a window to grab it |
| Capture selected portion | Drag a box, then click Capture |
| Record screen / portion | Makes a video instead of a photo |
| Options | Save location, timer, pointer, thumbnail |
The timer (5 or 10 seconds) is handy when you need a menu open in the shot. For video, see our guide to screen recording on a Mac.
Copy to clipboard instead of saving
Add Control to any shortcut:
- ⌘ + Control + Shift + 3: whole screen to the clipboard
- ⌘ + Control + Shift + 4: selected area to the clipboard
Nothing is saved as a file. Just paste with ⌘ + V into WhatsApp Web, an email, a Word document or a chat. This keeps your desktop from filling up with dozens of screenshots.
Change where screenshots save
By default, screenshots go to the desktop, named “Screenshot” plus the date and time. To change that:
- Press ⌘ + Shift + 5.
- Click Options.
- Under Save to, pick Documents, Clipboard, Mail, Messages, Preview, or Other Location to choose your own folder.
Mac remembers the choice for all your shortcuts. A dedicated “Screenshots” folder in Documents keeps things tidy and easy to back up.
Coming from Windows and looking for something like the Snipping Tool? See the Snipping Tool on Mac. For Windows laptops, read how to screenshot on a laptop.
Quick answers
Press Command + Shift + 3 for the whole screen. The image saves to your desktop.
Press Command + Shift + 4, then drag over the area you want. Tap the Space bar first if you want to capture a single window.
To the desktop by default. Press Command + Shift + 5, click Options, and choose a new folder under “Save to”.